Setting up Headless Raspberry Pi 4 as a Home Server Part 1
— 1 min read
I actively use Raspberry Pis for bots (like Telegram, and Twitter), getting information from connected sensors, running cryptocurrency nodes, and so on. With Ubuntu 64-bit support, Raspberry Pi 4 is more useful and affordable than many VPSs for me.
Because of lots of repetitive setup requirements, I wanted to turn the notes I took into blog posts that I can easily access later. You can think of this blog series as a cheatsheet.
Install Ubuntu 20.04 LTS to MicroSD Card
1-) Download Raspberry Pi Imager from raspberrypi.org/downloads/
2-) Insert your MicroSD card into your computer
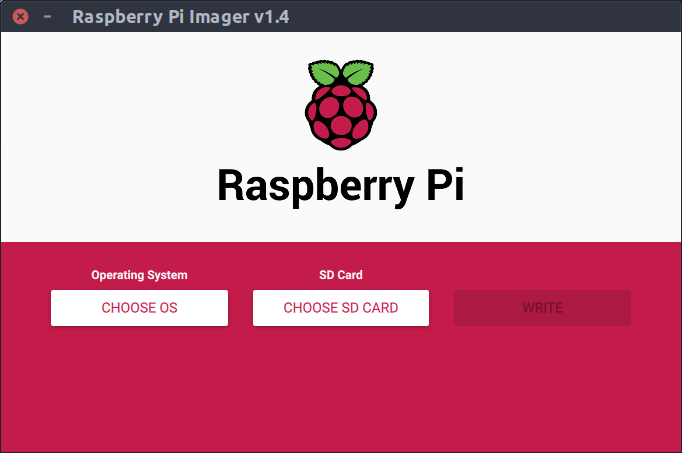
3-) Open Raspberry Pi Imager

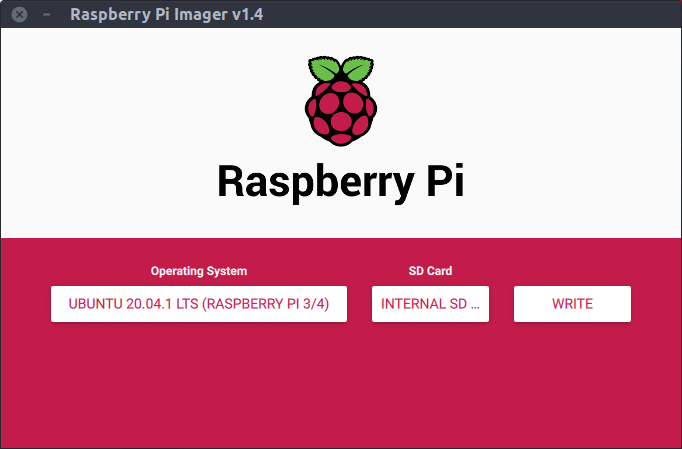
4-) Choose Ubuntu 20.04 LTS 64-bit and your MicroSD card

5-) Click the Write

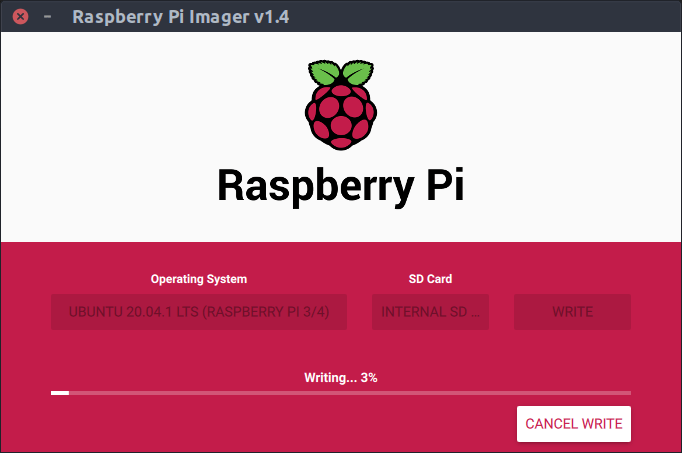
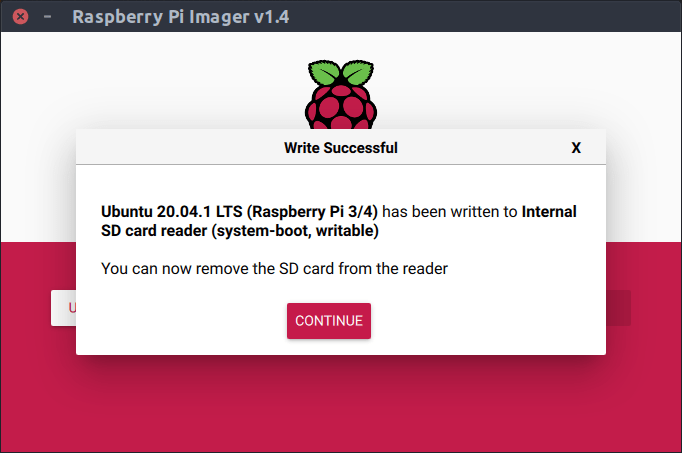
6-) Let's wait until the writing process is done as below

Setting Up Wi-Fi
1-) Navigate the "system-boot” partition on the MicroSD card and edit the network-config file with your network settings
1# This file contains a netplan-compatible configuration which cloud-init2# will apply on first-boot. Please refer to the cloud-init documentation and3# the netplan reference for full details:4#5# https://cloudinit.readthedocs.io/6# https://netplan.io/reference7#8# Some additional examples are commented out below910version: 211ethernets:12 eth0:13 dhcp4: true14 optional: true15wifis:16 wlan0:17 dhcp4: true18 optional: true19 access-points:20 "YOUR_NETWORK_NAME":21 password: "YOUR_PASSWORD"22# workssid:23# auth:24# key-management: eap25# method: peap26# identity: "me@example.com"27# password: "passw0rd"28# ca-certificate: /etc/my_ca.pem2-) Insert the MicroSD card into Raspberry Pi and power it up.
Note: In the first boot, RPI couldn't connect to Wi-Fi But after the poweroff and powerup again, it could able to connect.
Accessing Raspberry Pi Via SSH
1-) Find Raspberry Pi 4 IP address with this command
1arp -na | grep -i "dc:a6:32"2-) Default username and password for Ubuntu 20.04 is "ubuntu". So you can connect with the following command:
1ssh ubuntu@YOUR_RPI_IP_ADDRESSAnd that's it. RPI is ready for your services now.